깃허브 링크
https://github.com/100-hours-a-week/2-jelly-song-community
GitHub - 100-hours-a-week/2-jelly-song-community: 카카오테크 부트캠프 판교 2기 - 개인 프로젝트 (커뮤니티
카카오테크 부트캠프 판교 2기 - 개인 프로젝트 (커뮤니티 사이트 개발). Contribute to 100-hours-a-week/2-jelly-song-community development by creating an account on GitHub.
github.com
클린코드 (로버트 마틴) 책에 의하면 코드는 신문 읽듯이 짜여야 한다고 하였다.
읽을 수록 추상성이 내려가야 한다는 말이다. 쉽게 말하면 두괄식으로 짜여야 한다는 뜻이다.
자바 코드를 짤 때는 함수를 따로 만들어 추상성을 내릴 수 있었다.
카카오테크 부트캠프 2주차 과제 코드 중 일부를 가져왔다.
public void start() {
    startTimeChecker();

    printStartDescription();
    while (player.isAlive()) {
        printPlayerSelectMenu();
        player.printStatus();

        MainMenu mainMenu = selectMenu();
        if (isNoBattleMenu(mainMenu)) {
            processNoBattleMenu(mainMenu);
            continue;
        }

        battle(mainMenu);
    }
    printEndDescription();
}

// 추상성이 낮아진 예시 코드 중 몇가지를 제시합니다.
private static void printStartDescription() {
    System.out.println("****모험을 시작합니다****");
}

private boolean isNoBattleMenu(MainMenu mainMenu) {
    if (mainMenu.equals(MainMenu.EXERCISE) || mainMenu.equals(MainMenu.REST)) {
        return true;
    }
    return false;
}

private void processNoBattleMenu(MainMenu mainMenu) {
    if (mainMenu.equals(MainMenu.EXERCISE)) {
        player.exercise();
    }
    if (mainMenu.equals(MainMenu.REST)) {
        player.rest();
    }
}
이런 식으로 lowLevel의 코드를 바로 짜는 것이 아니라 추상성이 높게 함수로 짠다음
그 함수 내부로 들어가면 점차 lowLevel의 코드가 나오도록 해야한다.
이런 식으로 "신문 읽듯이 HTML을 짜고 싶었다"
Spring의 Thymeleaf의 경우 다음처럼 fragment를 제공한다.
<!DOCTYPE html>
<html xmlns:th="http://www.thymeleaf.org">
<body>

<footer th:fragment="footerFragment">
  <p> COPYRIGHT@ dhk22</p>
</footer>

</body>
</html>
fragment에 대한 html 코드를 불러오는 방식이다.
하지만 아직 template를 사용하지 않는 것이 프로젝트 요구사항이었다. 따라서 순수 html css javascript로 가능한 방법을 모색하였다.
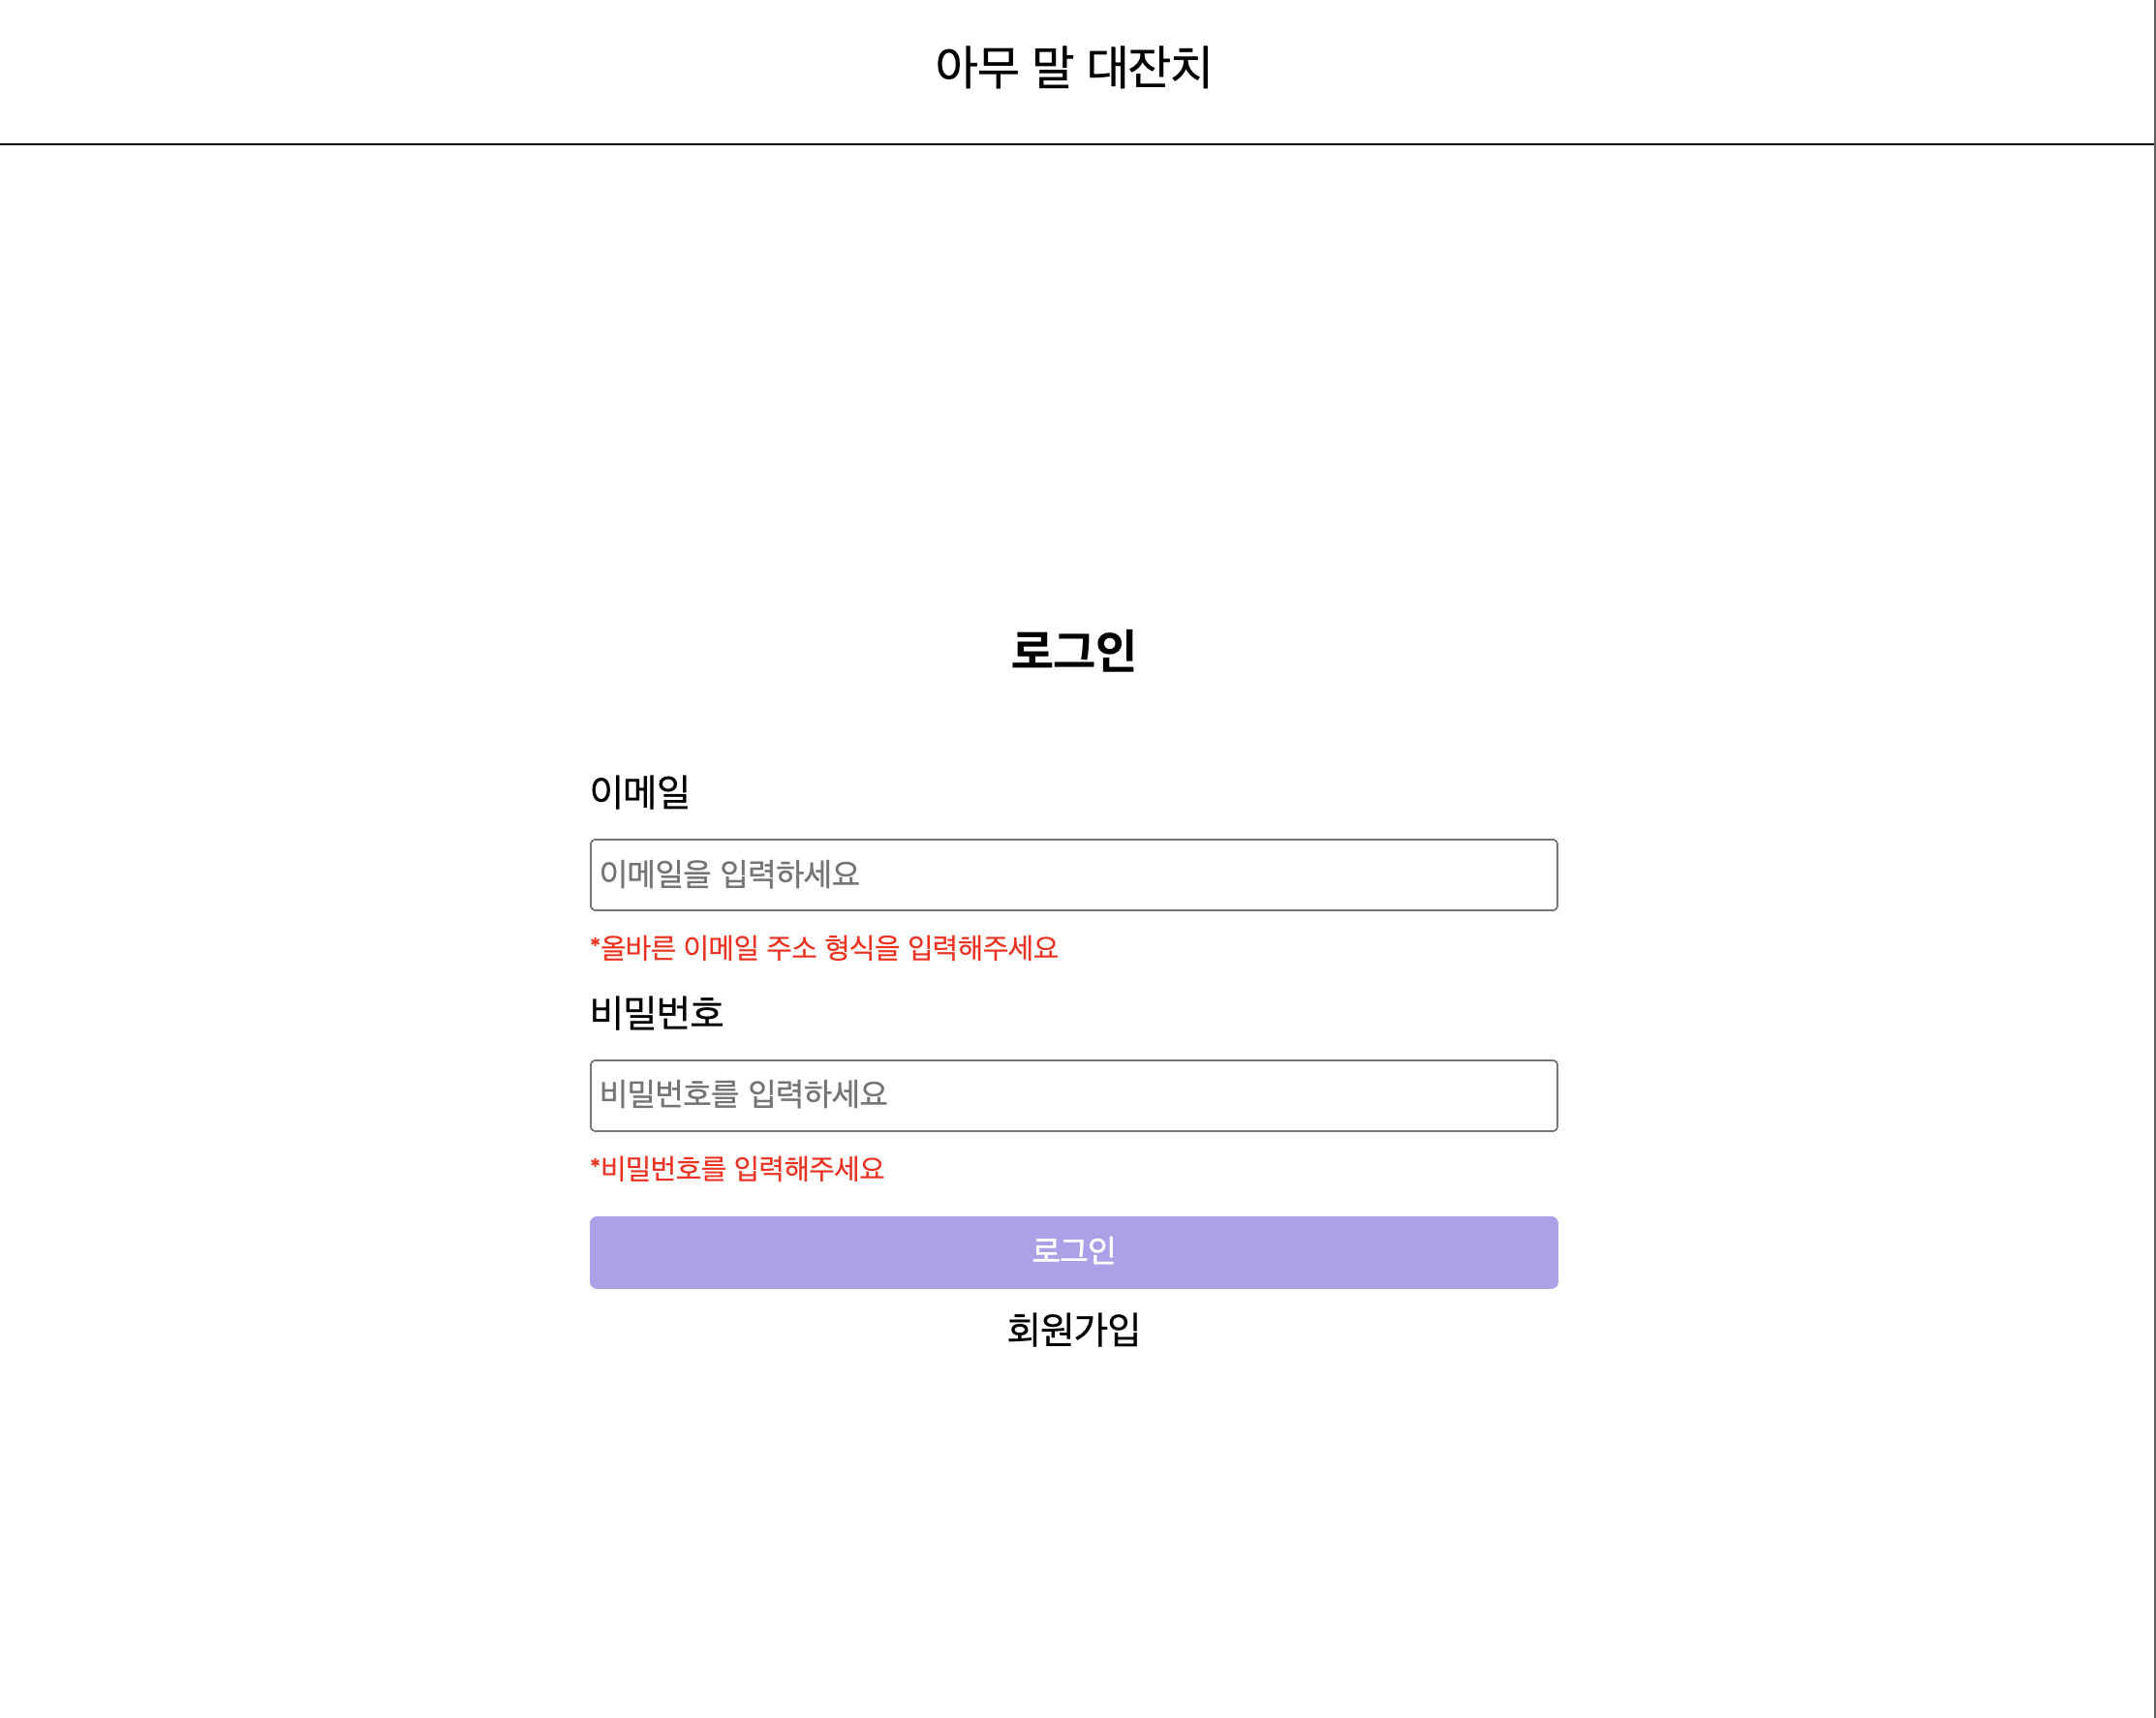
위의 로그인 페이지를 클린코드를 적용하며 html를 짠 결과이다.
<html>
    <head>
        <meta charset="UTF-8">
        <link href="./css/reset.css" rel="stylesheet" type="text/css" />
        <link href="css/common-container.css" rel="stylesheet" type="text/css" />
        <link href="css/common-font.css" rel="stylesheet" type="text/css" />
        <link href="./css/login.css" rel="stylesheet" type="text/css" />
        <script src="./js/includeHTML.js"></script>
        <title>kakao-bootcamp-community-login</title>
    </head>
    <body>
    <div class="total-container">
        <header include-html="./layout/header.html"></header>
        <div class="main-container">
            <div class="main-container-body">
                <div include-html="./layout/login-container.html"></div>
            </div>
        </div>
    </div>
    <script>includeHTML(function() {
        console.log("HTML includes loaded successfully!");

        let script = document.createElement("script");
        script.src = "./js/login-script.js";
        script.type = "text/javascript";
        document.body.appendChild(script);
    });</script>
    </body>
</html>
해당 html은 로그인 화면을 보여주는 html 코드이다.
추상성이 높아져 한눈에 로그인 페이지가 어찌 짜여있는지 한눈에 보기가 쉽다.
include-html 이라는 속성을 추가하고 해당 속성에 html의 경로만 표시하면 해당 html을 렌더링 하는 방식으로 구현하였다.
경로만 표시하면 해당 html을 렌더링 하는 함수를 직접 정의해야 한다. 코드는 다음과 같다.
function includeHTML(callback) {
    var z, i, elmnt, file, xhr;
    /*loop through a collection of all HTML elements:*/
    z = document.getElementsByTagName("*");
    for (i = 0; i < z.length; i++) {
        elmnt = z[i];
        /*search for elements with a certain atrribute:*/
        file = elmnt.getAttribute("include-html");
        //console.log(file);
        if (file) {
            /*make an HTTP request using the attribute value as the file name:*/
            xhr = new XMLHttpRequest();
            xhr.onreadystatechange = function() {
                if (this.readyState == 4) {
                    if (this.status == 200) {
                        elmnt.innerHTML = this.responseText;
                    }
                    if (this.status == 404) {
                        elmnt.innerHTML = "Page not found.";
                    }
                    /*remove the attribute, and call this function once more:*/
                    elmnt.removeAttribute("include-html");
                    includeHTML(callback);
                }
            };
            xhr.open("GET", file, true);
            xhr.send();
            /*exit the function:*/
            return;
        }
    }
    setTimeout(function() {
        callback();
    }, 0);
}
이 함수를 html을 렌더링 할때 호출한다면 include-html 속성이 붙은 태그를 조사하고 해당 url에 맞는 html을 렌더링 해준다.
해당 함수를 호출하기 위해 마지막에
<script>includeHTML(function() {
    console.log("HTML includes loaded successfully!");

    let script = document.createElement("script");
    script.src = "./js/login-script.js";
    script.type = "text/javascript";
    document.body.appendChild(script);
});</script>
코드가 있는 것이다.
콜백안에 있는 코드가 궁금할 수도 있는데
해당 url(./js/login-script.js)에 관한 script를 불러오는 코드이다.
해당 script는 html에 있는 코드를 select 하고 동적으로 웹페이지를 조작한다.
중요한 점은 "html이 있어야 select를 한다는 점이다." includeHTML이 실행되지 않으면 html 존재하지 않는다.
따라서 includeHTML이 실행된 후인 콜백에 넣어서 script를 실행해야 한다. 따라서 콜백안에 저 코드가 존재한다.
요약하면 HTML을 신문처럼 짜는 방법은 다음과 같이 정의할 수 있겠다.
1. includeHTML 함수를 정의한다.
2. html을 분리하고 include-html 속성으로 가져온다.
3. 만약 html을 select 하고 싶다면 콜백안에 script를 넣어준다.
물론 template 엔진을 쓴다면 template 엔진에 있는 기능을 적극 활용하자 :)
렌더링 함수 출처)
'프로젝트 > 개인 프로젝트' 카테고리의 다른 글
| 카카오 테크 부트캠프 - 개인 프로젝트 시작 (0) | 2025.02.16 |
|---|